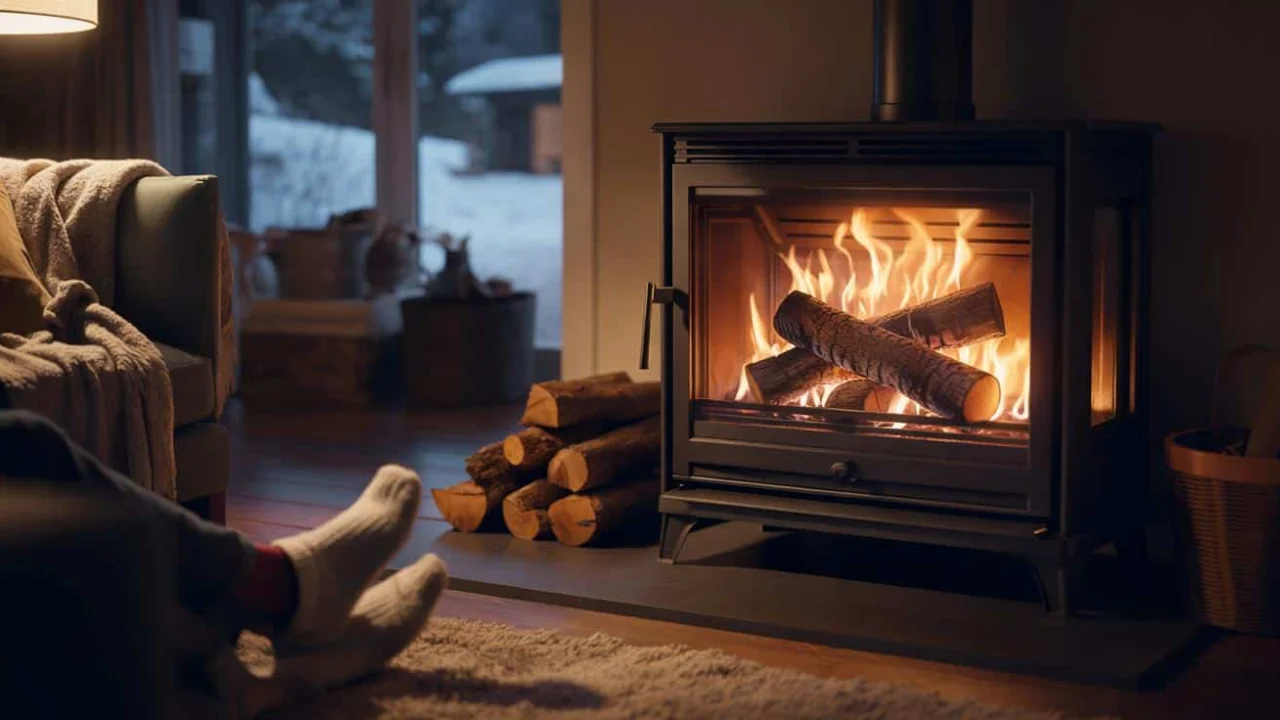
Last Thursday evening, I was standing in front of my wood stove feeling utterly defeated. The fire looked spectacular – dancing flames, glowing embers, that perfect crackle sound you hear in Christmas movies. But my living room? Still cold enough that I needed a sweater.

I’d burned through half my winter wood supply already, and we were barely into February. My heating bills were climbing because I kept cranking up the backup heat. Something had to change.
Then my neighbor mentioned this weird loading technique he’d learned from an old-timer. “Try building your fire upside down,” he said with a shrug. I thought he was joking. One week later, I’m using 30% less wood and my house stays warm for hours longer. Sometimes the simplest changes make the biggest difference.

The upside-down fire method that revolutionizes wood heating efficiency
Most people load their stoves the way their parents taught them – big logs on the bottom, kindling on top, light it up and hope for the best. This creates what heating experts call “the roller coaster effect.” Intense heat bursts followed by cold dips as the fire burns through layers unevenly.
The traditional method creates several problems. When you light kindling on top, it burns quickly and creates a brief flare of heat. But as those small pieces burn away, the fire struggles to catch the larger logs underneath. The result? You’re constantly adding more kindling, poking the fire, and dealing with temperature swings that leave your family grabbing blankets one minute and opening windows the next.

The top-down method flips everything around. You place your largest logs at the bottom, medium-sized pieces in the middle, and small kindling on top. When you light the fire from above, it burns downward in controlled layers.
“The physics are simple but brilliant,” explains Mark Richardson, a certified chimney sweep with 20 years of experience. “When fire burns downward, it preheats the wood below while maintaining consistent airflow. You get longer, steadier heat output.”

This technique isn’t just about staying warmer. It dramatically improves wood heating efficiency by creating more complete combustion. Less smoke escapes up the chimney, and more energy stays in your room as usable heat.
The method works because it mimics how fires burn naturally in the wild. Forest fires spread from treetops downward, creating sustained, controlled burning. Your fireplace operates on the same principles – gravity helps the fire progress steadily through fuel layers while maintaining optimal air circulation.

Step-by-step guide to maximum heat output
Here’s exactly how to build a top-down fire that will transform your wood heating efficiency:
| Step | Wood Size | Placement | Purpose |
|---|---|---|---|
| 1 | Large logs (4-6 inches) | Bottom layer, parallel | Foundation and long-term heat |
| 2 | Medium logs (2-4 inches) | Second layer, perpendicular | Sustained burning |
| 3 | Small splits (1-2 inches) | Third layer, parallel | Quick ignition |
| 4 | Kindling | Top layer, crisscross | Easy lighting |
| 5 | Fire starter | Very top center | Initial flame |
The key is creating air gaps between each layer. Don’t pack the wood tight – oxygen flow is what makes this method work.
Start with your largest logs as the foundation. These should be your best hardwood pieces, ideally 4-6 inches in diameter. Place them parallel to each other with about an inch of space between. This bottom layer will burn last and provide your longest-lasting heat.
Next, add a perpendicular layer of medium-sized logs, roughly 2-4 inches thick. The perpendicular placement creates crucial air channels while the logs support each other. Think of it like building a cabin – each layer locks the one below in place.
Your third layer returns to parallel placement, using smaller splits about 1-2 inches thick. These pieces bridge the gap between your quick-lighting kindling and the substantial logs below. They catch fire relatively quickly but burn long enough to ignite the larger wood underneath.
- Leave finger-width gaps between logs
- Stack each layer perpendicular to the one below
- Use only dry, seasoned wood (moisture content below 20%)
- Light from the top and resist the urge to poke or rearrange
- Adjust air intake dampers gradually as fire establishes
- Keep total height under 75% of your firebox opening
- Save your best kindling for the top layer – thin, dry pieces work best
“I’ve seen homeowners cut their wood consumption by 25-40% just by switching to top-down loading,” says Jennifer Walsh, a wood stove installer with over 15 years of experience. “The fire burns cleaner, longer, and with much more consistent heat output.”
The lighting process requires patience but delivers remarkable results. Place your fire starter – whether it’s newspaper, fatwood, or commercial fire starter – right in the center of your kindling layer. Light it and step back. Resist every instinct to poke, prod, or rearrange. The fire needs 10-15 minutes to establish its downward burning pattern.
Why this method transforms your heating experience
The difference between traditional bottom-up fires and top-down fires shows up in three major ways that directly impact your comfort and wallet.
First, heat consistency becomes predictable. Instead of wild temperature swings every 30 minutes, you get steady warmth for 2-4 hours per load. Your room temperature stays within a few degrees instead of fluctuating 15-20 degrees. This means your family stops playing the constant game of adjusting thermostats, adding layers, or opening windows when the room gets too hot.
The steady heat output also reduces stress on your heating system’s components. When your wood stove maintains consistent temperatures, metal expansion and contraction happen gradually rather than in dramatic cycles. This extends the life of your stove, chimney components, and even the surrounding masonry or walls.
Second, wood consumption drops significantly. Because the fire burns more completely, you extract more energy from each log. The downward burning pattern ensures that every piece of wood gets thoroughly consumed rather than partially burned. Many people report using one-third less wood while staying warmer.
This efficiency gain translates to real money saved. If you typically spend $800 on firewood per season, a 30% reduction means $240 back in your pocket. Over five years, that’s enough savings to upgrade your stove or invest in better wood storage.
Third, maintenance becomes easier. Top-down fires produce less creosote buildup because they burn hotter and cleaner. The complete combustion process consumes more of the volatile compounds that typically escape as smoke and condense in your chimney. You’ll spend less time cleaning glass doors, dealing with smoky startups, and scheduling chimney cleanings.
“The environmental benefits are huge too,” notes Dr. Sarah Mitchell, an air quality researcher at the National Institute of Standards and Technology. “Complete combustion means fewer particulates escaping into the atmosphere. It’s better for your lungs and your community.”
For people heating with wood as their primary source, these improvements can save hundreds of dollars per heating season. The method costs nothing to try but can transform how efficiently your stove operates.
The technique works with any wood-burning appliance – traditional fireplaces, wood stoves, fireplace inserts, even outdoor fire pits. The principles remain the same regardless of your setup. Even pellet stove owners report better results when they apply top-down principles to their occasional cord wood burns.
One week of using this method will show you exactly why so many wood burners become converts. The heat feels different – deeper, more penetrating, lasting longer between reloads. Your evening routine changes from constantly feeding the fire to actually relaxing beside it.
The psychological impact shouldn’t be underestimated either. There’s something deeply satisfying about building a fire that burns predictably for hours. Instead of babysitting your stove, you can focus on reading, conversation, or simply enjoying the ambiance that drew you to wood heating in the first place.
Common mistakes that sabotage your results
Even with perfect technique, certain mistakes can undermine your wood heating efficiency gains. The most common error is using wet or unseasoned wood. Wood with moisture content above 20% won’t burn cleanly regardless of how you stack it. Invest in a moisture meter – they cost under $30 and pay for themselves quickly.
Another frequent mistake is building fires too large for the firebox. When wood is packed too tightly or stacked too high, air circulation suffers. The fire can’t establish its proper downward burning pattern, and you’ll get poor results that make you think the method doesn’t work.
Impatience kills many first attempts at top-down fires. People see smaller initial flames and assume something’s wrong. They start poking, adding kindling, or rearranging logs before the fire establishes itself. Trust the process – the real heat comes after the fire burns down into the larger logs below.
Weather conditions also affect results. On extremely cold days, your chimney draft might be stronger, causing the fire to burn faster. Adjust by using slightly larger pieces in your middle layers. On mild days, reduce the overall size of your fire to prevent overheating.
“The biggest mistake I see is people giving up after one or two attempts,” says Richardson. “Like any skill, top-down burning improves with practice. By your fifth fire, you’ll understand how your specific stove and chimney respond to the technique.”
FAQs
Does the top-down method work with all types of wood?
Yes, but hardwoods like oak, maple, and ash work best because they burn longer and produce more heat per log. Softwoods can work for kindling layers but avoid them for base logs.
How long should I wait before adding more wood?
Wait until the fire burns down to a bed of coals, usually 2-4 hours depending on log size and wood type. Adding wood too early disrupts the burning pattern and reduces efficiency.
Can I use this method in a regular fireplace?
Absolutely. The technique works even better in open fireplaces because proper airflow is more critical for efficiency. You might need a slightly larger kindling layer to compensate for heat loss up the chimney.
What if my fire won’t light from the top?
Check that your kindling is dry and you have enough air gaps. You might need more fine material on top to get initial ignition. Also verify that your damper is fully open and the chimney is drawing properly.
Is it normal for the fire to look different?
Yes, top-down fires often have smaller, more controlled flames initially, but they burn much more consistently overall. The dramatic flames come later as the fire reaches the larger logs below.
How much wood will this method actually save?
Most people report 25-35% reduction in wood consumption while maintaining the same comfort level throughout their home. Results vary based on wood quality, stove type, and home insulation, but some efficiency gain is nearly universal.